
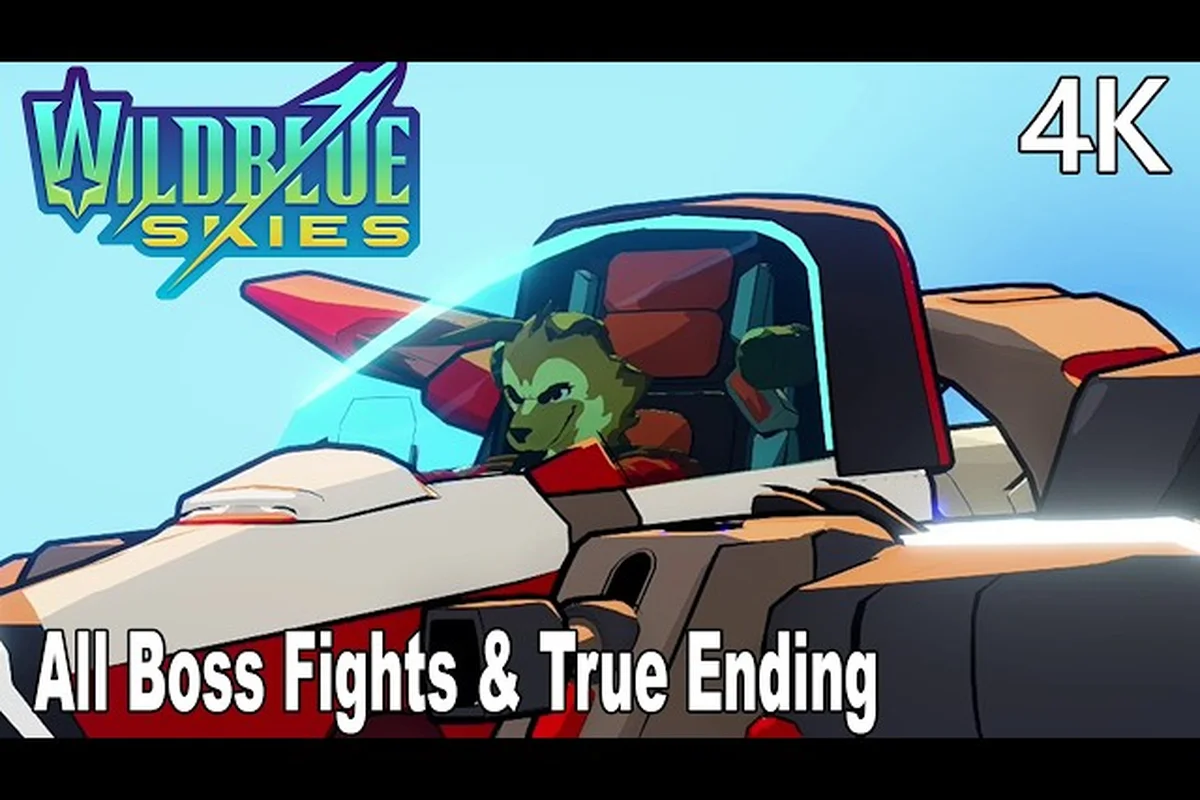
Every Wild Blue Skies hidden routes map begins with a simple observation: the game's branching mission structure hides more than just alternate level order. Chuhai Labs built a route system where your choices ripple outward, unlocking bonus stages, collectible caches, and ultimately determining which of the multiple endings you will see when the credits roll. Because the game presents itself as a straightforward on-rails shooter, many players finish their first campaign without ever realizing that entire missions sat dormant behind unmarked forks.
That is why tracing the Wild Blue Skies hidden routes map matters more than casual curiosity. Each branch you miss locks away a piece of the true ending puzzle, and the game never explicitly tells you which turns lead where. The good news is that every hidden path follows a consistent logic, and once you understand how the route system reads your performance, you can unlock everything in a single focused playthrough. This guide breaks down every fork, every unlock condition, and every collectible tied to the secret paths, so you can navigate the skies with complete confidence.
Tracing where each route fork leads
The Wild Blue Skies hidden routes map operates on a route-point threshold system rather than simple binary choices. Every mission you complete awards route points based on your performance, with medals, combo chains, and secret target destruction all feeding into a hidden tally. When you reach a fork in the campaign, the game compares your accumulated score against preset thresholds to determine which branch opens. This means the same mission can lead to completely different destinations depending on how thoroughly you cleared it.
Understanding this system requires tracking three distinct metrics that the game tracks silently in the background:
-
Medal quality — Bronze, Silver, or Gold medals award 1, 2, or 3 route points respectively, and the game averages these across all completed missions
-
Combo chain length — Sustaining a 20-hit combo or higher during a mission adds a bonus point to that mission's contribution
-
Secret target kills — Each hidden target destroyed within a mission adds an additional route point, and these stack with the medal bonus
The route-point threshold system creates a fascinating tension because it rewards both consistency and risk. A player who earns Gold medals on every mission but ignores secret targets will hit different forks than a player who mixes Silver medals with perfect secret hunting. According to community testing on the Steam forums, the game's fork logic reads your average route score rather than your total, which means one weak mission can drag down an otherwise perfect run.
| Route Score Range | Fork Outcome | Unlocked Content |
|---|---|---|
| 1.0 – 1.9 | Standard path | Basic mission progression only |
| 2.0 – 2.9 | High path | One bonus mission per act |
| 3.0 – 3.4 | Ace path | Two bonus missions, secret boss access |
| 3.5+ | Perfect path | All bonus content, true ending route |
The table above represents the general thresholds reported by players, though the exact values shift slightly depending on which act you are currently progressing through. What matters is that your route score carries forward across the entire campaign, so early missions influence late-game forks. This is why the complete branching route guide recommends planning your entire playthrough before you even start the first mission, because a single Bronze medal in Act 1 can lock you out of the true ending in Act 5.
How Route Points Accumulate Across Acts
Each of the game's five acts contains between three and five missions, and every mission contributes to your running route score. The system does not reset between acts, which creates a compounding effect that rewards consistent excellence. A perfect Act 1 gives you breathing room in later acts, while a sloppy Act 1 forces you to chase higher scores just to reach the same forks.
The accumulation math works out to roughly 15 to 20 route points available per act, depending on how many secret targets you find. Since the fork thresholds scale with each act, you need to maintain roughly the same performance level throughout the campaign rather than peaking early and coasting later. Players who report missing the true ending almost always describe a mid-campaign slump where they stopped hunting secrets or let their combo chains drop.
Mapping Every Secret Fork Across the Five Acts
The Wild Blue Skies hidden routes map reveals its most important secret in Act 2, where the desert canyon mission hides a cave entrance that only appears when you destroy three specific rock formations before the halfway checkpoint. Most players fly past these formations because they look like background scenery, but each one shatters when struck with a charged shot. Destroying all three triggers a visual cue — a subtle shimmer across the canyon floor — that marks the hidden entrance.
Act 3's ocean platform mission follows a different logic entirely. Here the secret fork activates based on timing rather than destruction, because you must slow your ship to minimum speed while passing through the second archway. Doing so triggers a sonar pulse that reveals a submerged tunnel entrance. The game gives you no visual hint that slowing down matters, which is why this particular fork stumps so many players on their first playthrough.
Act 4's ice cavern mission combines both mechanics, requiring you to destroy four ice crystals in a specific order and then maintain a 15-hit combo while entering the revealed passage. The order matters because each crystal spawns the next when destroyed, and breaking them out of sequence simply respawns the previous one. Community reports suggest this is the most commonly missed fork in the entire game, with many players assuming the crystals are just environmental decoration.
| Act | Mission | Trigger Condition | Hidden Content |
|---|---|---|---|
| 2 | Desert Canyon | Destroy 3 rock formations | Cave bonus mission |
| 3 | Ocean Platform | Slow to minimum speed at archway | Submerged tunnel stage |
| 4 | Ice Cavern | Destroy 4 crystals in order + 15-hit combo | Frozen vault area |
| 5 | Storm Approach | Maintain Gold medal through first 3 phases | Secret boss arena |
The Act 5 fork deserves special attention because it gates the secret boss encounter that leads to the true ending. Unlike earlier forks that require specific actions, this one demands consistent performance across the entire mission. You must hold a Gold medal through the first three phases of the storm approach, which means no shield hits and no missed secret targets. The game tracks this internally and only opens the boss arena if you meet the threshold.
The Cloud Corridor and Its Hidden Collectibles
The Act 5 storm approach also contains the cloud corridor, a vertical passage that appears only when you destroy all five homing missile launchers before they fire. Each launcher sits on a floating platform, and they cycle through a predictable firing pattern that gives you roughly four seconds to destroy each one. Missing a single launcher closes the corridor and redirects you to the standard boss fight.
Inside the cloud corridor, you will find three collectible data chips that contribute to the game's bonus content unlock system. These chips do not appear on any map or HUD indicator, so you need to know their locations in advance. The first sits on a floating platform immediately after entering the corridor, the second requires a sharp descent through a gap in the cloud layer, and the third appears only after you destroy a hidden drone that trails behind your ship.
Collecting all three chips in a single run triggers a bonus cutscene that expands the game's lore and contributes to the true ending requirements. Players who skip the corridor entirely miss these chips, which is why the secret areas explained guide emphasizes thorough exploration over speed when hunting for bonus content.
Requirements to open bonus missions
The Wild Blue Skies secret mission unlock system ties directly to the hidden routes map, because each fork you discover opens a new mission that was previously invisible on the campaign select screen. These bonus missions do not appear in the standard mission list, and the game gives no indication that they exist until you trigger their unlock conditions. According to the official Wild Blue Skies Steam page, the game was designed to reward repeated playthroughs, and the hidden missions represent the bulk of that replay value.
Each bonus mission follows a distinct theme that contrasts with the main campaign's structure. The Act 2 cave mission swaps the open desert skies for tight underground corridors, forcing you to adjust your flying style to avoid wall collisions. The Act 3 submerged tunnel stage introduces a pressure mechanic where your ship takes damage if you stay submerged too long, adding a timer element to every encounter. The Act 4 frozen vault mission features mirrored enemy patterns that require you to unlearn your usual dodge timing.
| Bonus Mission | Unlock Requirement | Reward |
|---|---|---|
| Cave Run | Act 2 rock formations | 2 data chips, alternate skin |
| Tunnel Dive | Act 3 slow passage | 3 data chips, weapon upgrade |
| Frozen Vault | Act 4 crystal order | 4 data chips, shield module |
| Storm Boss | Act 5 Gold threshold | True ending access, final chip |
The data chips you collect across these bonus missions feed into the game's bonus content gallery, which unlocks concept art, music tracks, and character profiles. Collecting all twelve chips across the entire campaign unlocks the final gallery entry, which contains a developer commentary track about the game's design philosophy. This collectible system gives completionists a concrete goal beyond simply beating the game, and it rewards players who engage with every hidden route the game offers.
How the True Ending Route Branches
The Wild Blue Skies endings guide becomes relevant the moment you complete the Act 5 secret boss, because that encounter determines which of the game's three endings you will see. The standard ending plays if you defeat the final boss without accessing the secret arena, and it resolves the main conflict with a bittersweet tone. The good ending requires the secret boss victory plus a minimum of eight data chips, and it adds a post-credits scene that hints at future adventures.
The true ending demands everything: secret boss victory, all twelve data chips, and a route score above 3.5 across the entire campaign. This ending extends the final cutscene significantly, showing the Blue Bombers squad reuniting and setting up the game's sequel hook. Players who achieve this ending report that the extra content justifies the effort, because the true ending resolves character arcs that remain ambiguous in the other two conclusions.
Because the true ending requirements stack on top of each other, you cannot unlock it in a single casual playthrough. You need to plan your route from the start, maintain high medal quality throughout, and hunt every secret target in every mission. The hidden paths guide breaks down the exact medal requirements for each act, which helps you identify which missions need the most attention before you even begin.
Planning your route to see every secret
Planning your Wild Blue Skies hidden routes map run requires thinking about the campaign as a single continuous challenge rather than a series of isolated missions. The route score system rewards consistency, so you should identify your weakest missions early and practice them in mission select mode before committing to a full campaign run. Mission select mode does not award route points, but it lets you learn enemy patterns and secret target locations without risking your campaign progress.
Your first priority should be memorizing every secret target location in the early acts, because these provide the easiest route point boosts. Most secret targets hide in plain sight, tucked behind environmental objects or hovering at the edges of the play area. Learning their locations transforms them from hidden surprises into reliable point sources, and this knowledge compounds across multiple playthroughs.
The second priority involves mastering the combo chain system, because sustained combos provide the largest route point bonuses. The combo meter resets when you take damage, so avoiding hits matters more than raw firepower. Practice dodging enemy patterns without firing, then gradually add shooting into your evasion routes until you can maintain a 30-hit combo while taking no damage.
| Planning Priority | Time Investment | Route Point Impact |
|---|---|---|
| Secret target locations | 2-3 hours | +1 point per mission |
| Combo chain mastery | 3-4 hours | +1 point per mission |
| Medal consistency | 4-5 hours | +1-2 points per mission |
| Boss pattern study | 2-3 hours | Prevents run-ending losses |
The table above shows where your practice time delivers the best returns. Secret target locations and combo mastery provide the most reliable route point gains, while medal consistency requires the most practice but also yields the highest ceiling. Boss patterns matter less for route points directly, but they prevent catastrophic run failures that can force you to restart the entire campaign.
Recommended Route Order for First-Time Explorers
If you are attempting your first full hidden routes map run, start with the Act 2 cave mission as your first bonus objective. It has the simplest unlock condition and the most forgiving difficulty, making it an ideal introduction to the game's secret systems. The cave mission also contains two data chips that boost your collectible count early, which reduces pressure in later acts.
After securing the Act 2 bonus, move to the Act 3 tunnel dive and focus on mastering the pressure mechanic. This mission teaches you to manage a resource timer while fighting, a skill that carries over to the Act 4 frozen vault. The tunnel dive's three data chips bring your total to five, which means you only need seven more across the remaining acts.
The Act 4 frozen vault presents the steepest learning curve of the bonus missions, so consider practicing it in mission select mode before attempting it in your campaign run. The mirrored enemy patterns require you to reverse your usual dodge directions, and the crystal destruction order demands precise timing. Success here puts you at nine data chips with only the Act 5 corridor remaining.
Fine-tuning your path for the true ending
Once you have completed a full hidden routes map run, you can start optimizing your route for speed and efficiency. The game's mission select mode lets you replay any unlocked mission, which means you can practice individual segments without committing to a full campaign. Experienced players use this mode to perfect their combo chains and shave seconds off their mission times, because faster clears often translate to higher route scores.
The speed-running approach focuses on completing missions as quickly as possible while maintaining Gold medals. This strategy works because the route score system weights medal quality heavily, and faster clears give you more time to hunt secret targets without hitting mission time limits. Players who optimize for speed report that they can complete a full campaign in roughly half the time of a thorough exploration run while achieving comparable route scores.
The completionist approach prioritizes data chips and secret targets over raw speed, accepting longer mission times in exchange for maximum route points. This strategy suits players who want to unlock every gallery entry and see every ending, because it guarantees the true ending requirements are met. The tradeoff is that completionist runs take significantly longer, especially in the early acts where you need to learn every secret location.
| Optimization Style | Campaign Time | Route Score Ceiling | Best For |
|---|---|---|---|
| Speed-focused | 3-4 hours | 3.2 – 3.4 | Repeat playthroughs |
| Balanced | 5-6 hours | 3.4 – 3.6 | First true ending attempt |
| Completionist | 7-8 hours | 3.6 – 3.8 | Full gallery unlock |
The balanced approach works best for most players attempting their first true ending, because it provides enough margin for error without dragging the campaign to excessive lengths. You need roughly a 3.5 route score for the true ending, and the balanced approach gives you a buffer of about 0.1 to 0.3 points. That buffer absorbs the occasional Silver medal or missed secret target without forcing a full restart.
Common Route Planning Mistakes to Avoid
The most common mistake players make when planning their hidden routes map run involves overlooking the Act 1 missions as route point sources. Because Act 1 missions are the easiest, players assume they can coast through them and make up points later. In reality, Act 1 provides some of the easiest secret target opportunities in the game, and missing them forces you to chase higher scores in harder missions later.
Another frequent error involves ignoring the combo chain bonus in favor of pure medal chasing. A Gold medal with a broken combo chain awards fewer route points than a Silver medal with a 30-hit combo, because the combo bonus adds to your score independently. Players who focus exclusively on medals often finish with lower route scores than they expect, because they never build the sustained chains that boost their totals.
The third common mistake is restarting the campaign after a single weak mission instead of adapting. The route score system averages across all missions, so one Bronze medal only drops your average by a fraction of a point. Unless you are chasing the absolute maximum score, you can usually recover from a weak mission by excelling in the remaining ones. The ocean mission guide provides specific strategies for recovering from early mistakes, because the Act 3 missions offer the best comeback opportunities.
Frequently Asked Questions
How many hidden routes exist in the Wild Blue Skies hidden routes map?
The game contains four major hidden routes, one in each act from Act 2 through Act 5. Each route leads to a bonus mission, and the Act 5 route additionally gates the secret boss encounter. Minor forks within missions add variety but do not unlock separate content.
Do I need all twelve data chips for the true ending?
Yes, the true ending requires all twelve data chips plus the secret boss victory and a route score above 3.5. The chips are distributed across the four bonus missions, with the Act 5 corridor containing the final three. Missing any chip locks you into the good ending instead.
Can I unlock secret missions in mission select mode?
No, mission select mode does not award route points or trigger fork conditions. You must play through the campaign in story mode to unlock bonus missions. However, you can practice missions in select mode to learn patterns before attempting your campaign run.
Does the game tell you when you find a hidden route?
The game provides subtle visual cues, such as shimmering effects or sonar pulses, but no explicit notification. You will know you found a route when the mission transitions to a new area. The Steam community hub discusses these cues extensively for players who want confirmation.
What happens if I miss a hidden route during my playthrough?
Missing a fork simply drops you onto the standard path toward the normal ending, with no score penalty. Because your route score carries over between playthroughs, a strong first run still boosts your next attempt. Replay the campaign to hit the desert cave or submerged tunnel and unlock the bonus content.