
Enemies
Wild Blue Skies enemies — every unit in Grimclaw's forces, from enemy fighters and bombers to ground emplacements and elite aces.
Introduction
The Enemies category catalogues the forces of Grimclaw that fill every sortie in Wild Blue Skies. The villain's army spans land and sky, from swarming enemy fighters and heavy bombers to ground turret lines and elite ace pilots, and each unit type demands a slightly different approach. This category explains the enemy types reported in the campaign, the formations they fly in, and the cleanest way to take each one down without breaking your combo. Understanding the enemy roster turns chaotic-looking bullet patterns into readable, solvable problems — and that readability is exactly what separates a clean gold-medal run from a death-filled brawl.
Grimclaw's Forces
| Enemy Type | Domain | Threat | Counter |
|---|---|---|---|
| Enemy Fighters | Aerial | B | Lead your shots, break waves |
| Enemy Bombers | Aerial | A | Focus fire before they pass |
| Ground Turrets | Ground | B | Strafing passes |
| Elite Aces | Aerial | A | Dodge first, shoot second |
Enemy Unit Cards
Enemy Fighters
The backbone of Grimclaw's aerial forces, swarming in lines across every open-water sortie.
Enemy Bombers
Slow, heavily armored bombers that demand focused fire before they cross your damage window.
Ground Turrets
Fixed gun emplacements along ridges and cave floors that punish careless low passes.
Elite Aces
Tougher enemy pilots that anchor formations and fly erratic, hard-to-read patterns.
Core Mechanics
Grimclaw's forces are built around readable formations that spawn in waves, and each unit type behaves differently enough that you need a small playbook. Enemy fighters swarm in lines and are best handled with leading shots as they cross your lane. Enemy bombers are slower and tougher, so they demand focused fire before they fly past your damage window. Ground turrets sit along the ridge and cave floors, punishing careless strafing runs until you destroy them. Elite aces fly erratic patterns and anchor formations, so they are worth isolating and killing first. Learning which target to prioritize — and when to break off to dodge — is the core combat skill of the entire campaign.
Advantages
An accurate enemy reference makes every mission easier to read. Once you know that bombers need focus fire and turrets need strafing runs, you stop wasting shots and start building clean chains, which feeds directly into the score and medal system that defines the game. This category also helps you spot the formations that precede a boss fight and the elite units that guard secret routes, so you can prepare before the encounter begins. For players chasing high scores, knowing exactly how many points each unit type is worth and how to chain them is the foundation of the combo strategies the guides category explains in depth.
Challenges
The developer has not published an official enemy codex, so the enemy roster and exact behavior details are compiled from the campaign and community testing. Health values, point values and spawn patterns may vary with patches, and some advanced enemy types may not yet be fully cataloged. Players who enjoy discovering enemy behavior organically should treat the pattern and counter descriptions as spoilers. Finally, exact formation layouts differ between missions and difficulties, so treat the general counters here as principles rather than strict scripts. Mission-to-mission formation layouts also change with difficulty, so the counters here are principles to apply flexibly rather than exact scripts that work identically in every stage and on every difficulty setting.
Frequently Asked Questions
What are the main enemy types in Wild Blue Skies?+
How do I clear enemy waves without taking hits?+
Do enemies drop anything useful?+
Quick Tips
Kill the anchors first. Elites and turrets shape the formations around them, so removing them first makes the rest of the wave collapse into easy, chainable kills instead of an overwhelming wall of fire. Once the anchors are gone, the remaining wave usually flies in predictable lines that chain together for bonus score.
Respect the bombers' damage window. Because they are slow and tough, you only have a short window to focus them down before they fly past — commit your fire early or let them go and reposition. If a bomber escapes, let it go and reposition rather than chasing it into the turret line that usually covers its retreat.
Use the environment. In the cave and ridge stages, terrain blocks enemy sightlines, so use cover to break line-of-sight with turret lines before you commit to a strafing pass. Mastering cover use in the caves pays off later, because several secret paths are guarded by exactly the turret lines you practiced against.
Featured
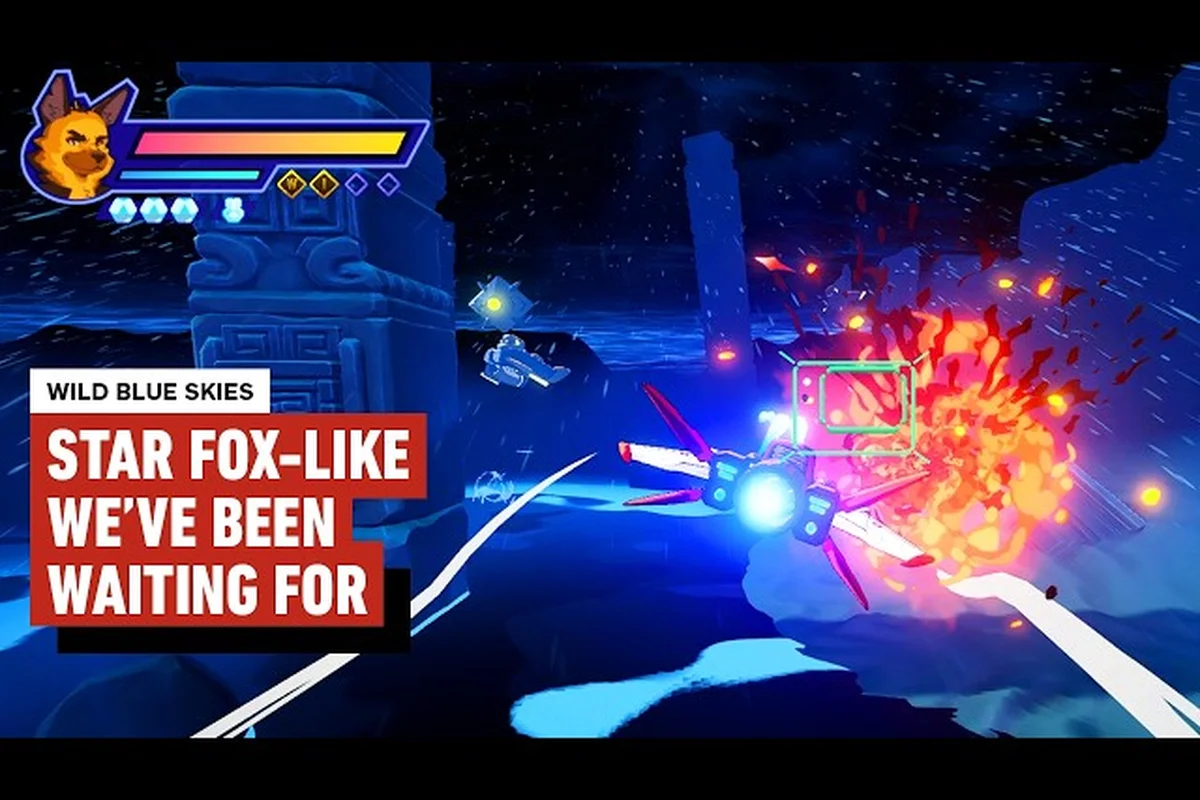
Wild Blue Skies enemies guide: Grimclaw forces decoded
Identify Wild Blue Skies enemies guide entries from Grimclaw's army. Learn each enemy type's patterns, weak points, and wave strategies across land and sky.

Wild Blue Skies aerial enemies: fighter & bomber patterns
Master Wild Blue Skies aerial enemies with formation breakdowns and weakness charts. Learn to chain kills on fighter and bomber waves for higher scores.

Wild Blue Skies enemies in mission: every type & spawn tips
Identify every Wild Blue Skies enemies in mission type, from fodder to elites. Learn spawn locations and fast takedown tactics to dominate each level.
All Articles

Wild Blue Skies ground emplacements: turret dodge timing
Survive Wild Blue Skies ground emplacements with turret timing and wave-clearing tactics. Dodge Grimclaw soldiers and keep your medal run intact.
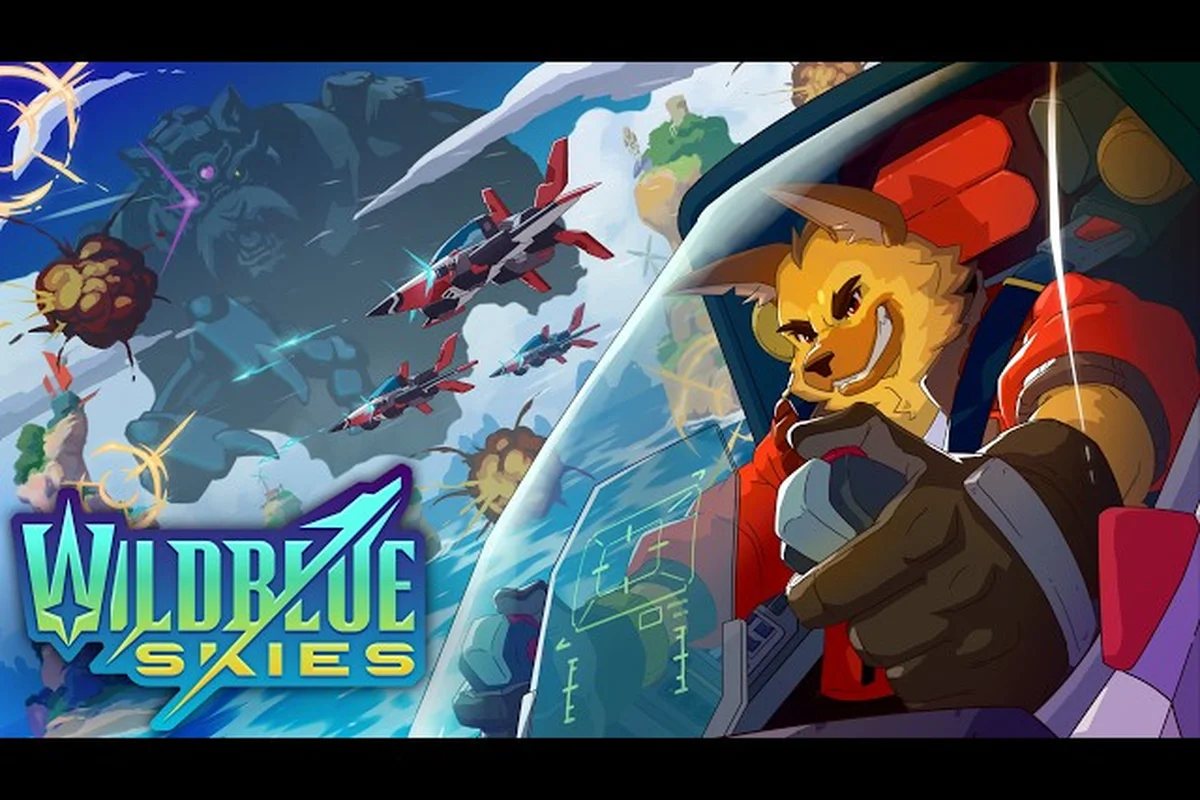
Wild Blue Skies ground enemies: behavior, waves & clear tips
Master Wild Blue Skies ground enemies with behavior breakdowns and wave-clearing strategies. Push back Grimclaw's forces and secure perfect mission runs.

Wild Blue Skies Grimclaw units ranked: toughest foes first
Rank the Wild Blue Skies Grimclaw units from weakest to strongest. Learn stats and formations to prioritize targets and survive the hardest waves.